“The best camera is the one that’s with you …” Chase Jarvis So, you’re a photographer, you’re out & about, and you see what could be an awesome image – but you don’t have your “real” DSLR camera with you. But hey, no problem – out comes your smartphone (we always have our phone with us, right?). You take the cool shot, and voila – you think it has potential. Now that you’ve captured it, what’s next? Smartphone cameras are becoming more popular in photography circles, and an array of photographic-related accessories are available. Plus, the latest generation of
• Note 1: If you wanna see the functions of Adobe Camera Raw in action (with YouTube Video), then this separate post/video will show you the nuts & bolts of the overall Workspace: https://blog.main.wattsdigital.com/video-camera-raw-12-3-radical-changes-to-the-user-interface/ • Note 2: Also related (with short YouTube Video): Learn how to properly work with a RAW file (hint – most photographers don’t!) – The Philosophy of Adobe Camera RAW: https://blog.main.wattsdigital.com/the-philosophy-of-raw/ _____________________________ There’s a new version of Adobe Camera RAW, version 16.0. It has exciting new changes to the Workspace – it’s a more practical & logical interface! Frankly, I’ve been asking
The material in this blogpost comes from: • My Photoshop book called “Not Just Another Photoshop Book” • And, my Small Group Workshop called “The Power of Layer Masks in Photoshop” _______________________ There is incredible power in being able to work on your image in Photoshop “globally” (the whole image), as well as “locally” (just part of your image). Being able to localize your image adjustments is the digital post-processing equivalent of the legendary Ansel Adams’ & Fred Archers’ photographic Zone System – see this post for more as it relates to Photoshop: https://blog.main.wattsdigital.com/using-zones-in-photoshop/ • This is Part 3 of what will be
The material in this blogpost comes from: • My Photoshop book called “Not Just Another Photoshop Book” • And, my Small Group Workshop called “The Power of Layer Masks in Photoshop” __________ There is incredible power in being able to work on your image in Photoshop “globally” (the whole image), as well as “locally” (just part of your image). Being able to localize your image adjustments is the digital post-processing equivalent of the legendary Ansel Adams’ & Fred Archers’ photographic Zone System – see this post for more as it relates to Photoshop: https://blog.main.wattsdigital.com/using-zones-in-photoshop/ •This is Part 2 of what will be a
The material in this blogpost comes from: • My Photoshop book called “Not Just Another Photoshop Book” • And, my Small Group Workshop called “The Power of Layer Masks in Photoshop” ______________________ There is incredible power in being able to work on your image in Photoshop “globally” (the whole image), as well as “locally” (just part of your image). Being able to localize your image adjustments is the digital post-processing equivalent of the legendary Ansel Adams’ & Fred Archers’ photographic Zone System – see this post for more as it relates to Photoshop: https://blog.main.wattsdigital.com/using-zones-in-photoshop/ • This is Part 1 of
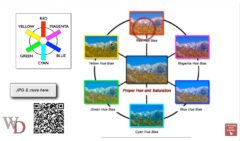
NOTE 07/15/23: this is the fifth in a series of posts called “Photoshop Quick Tips” – In this and further “Quick Tip” posts, you’ll discover basic but fundamental aspects of Photoshop, presented in bite-sized pieces – – short, concise, succinct, and to-the-point – enjoy! The “Quick Tip” video below is a snippet from one of my free live & online “Photoshop 101” Meetups – the full recording (& notes) can be found here: https://blog.main.wattsdigital.com/video-photoshop-101-class-2-control-your-contrast-color-07-22-20/ So, what makes a good color print and how do you use the basics of Photoshop to achieve it? There are eight basic
NOTE 07/09/23: this is the fourth in a series of posts called “Photoshop Quick Tips” – In this and further “Quick Tip” posts, you’ll discover basic but fundamental aspects of Photoshop, presented in bite-sized pieces – – short, concise, succinct, and to-the-point – enjoy! The “Quick Tip” video below is a snippet from one of my free live & online “Photoshop 101” Meetups – the full recording (& notes) can be found here: https://blog.main.wattsdigital.com/video-photoshop-101-class-2-control-your-contrast-color-07-22-20/ _______________ “The color balance in my print doesn’t look right…” Color Correction is correcting an imbalance in the color cast of an
NOTE 06/23/23: this is the third in a series of new posts called “Photoshop Quick Tips” – In this and further “Quick Tip” posts, you’ll discover basic but fundamental aspects of Photoshop – presented in bite-sized pieces – – short, concise, succinct, and to-the-point – enjoy! The “Quick Tip” video below is a snippet from one of my free live & online “Photoshop 101” Meetups – the full recording (& notes) can be found here: https://blog.main.wattsdigital.com/study-video-photoshop-101-class-1-the-foundation/ “Save” Options When saving files, Photoshop gives you two main options: “Save…” and “Save As…”. You can find both of
NOTE 06/21/23: this is the second in a series of new posts called “Photoshop Quick Tips” – In this and further “Quick Tip” posts, you’ll discover basic but fundamental aspects of Photoshop presented in bite-sized pieces – – short, concise, succinct, and to-the-point – enjoy! The “Quick Tip” video below is a snippet from one of my free live & online “Photoshop 101” Meetups – the full recording (& notes) can be found here: https://blog.main.wattsdigital.com/study-video-photoshop-101-class-1-the-foundation/ 3 Main Ways to Open a File in Photoshop: Go to the “File” Menu -> “File” -> “Open …”
FYI, I did NOT think I’d originally need to write this post – – but in the last few years, circumstances in the world of photography & post-processing have forced my hand … I’m talking about the current infatuation with “Artificial Intelligence (AI)” – the latest shiny object in technology – and how it relates to photography. Lately, Photoshop gurus have been declaring “THE WAY YOU CREATE WILL NEVER BE THE SAME!” (Yes, it’s all caps in the original email), or “Everyone’s talking about the brand-new Generative Fill in Adobe Photoshop. It’s the hottest new thing”. So – everyone in the
NOTE 06/14/23: this is the first in a series of new posts called “Photoshop Quick Tips” – In this and further “Quick Tip” posts, you’ll you’ll discover basic but fundamental aspects of Photoshop presented in bite-sized pieces – – short, concise, succinct, and to-the-point – enjoy! The “Quick Tip” video below is a snippet from one of my free live & online “Photoshop 101” Meetups – the full recording (& notes) can be found here: https://blog.main.wattsdigital.com/study-video-photoshop-101-class-1-the-foundation/ Changing Numerical Values: There are three main ways to change the numerical values in Photoshop’s various tools,
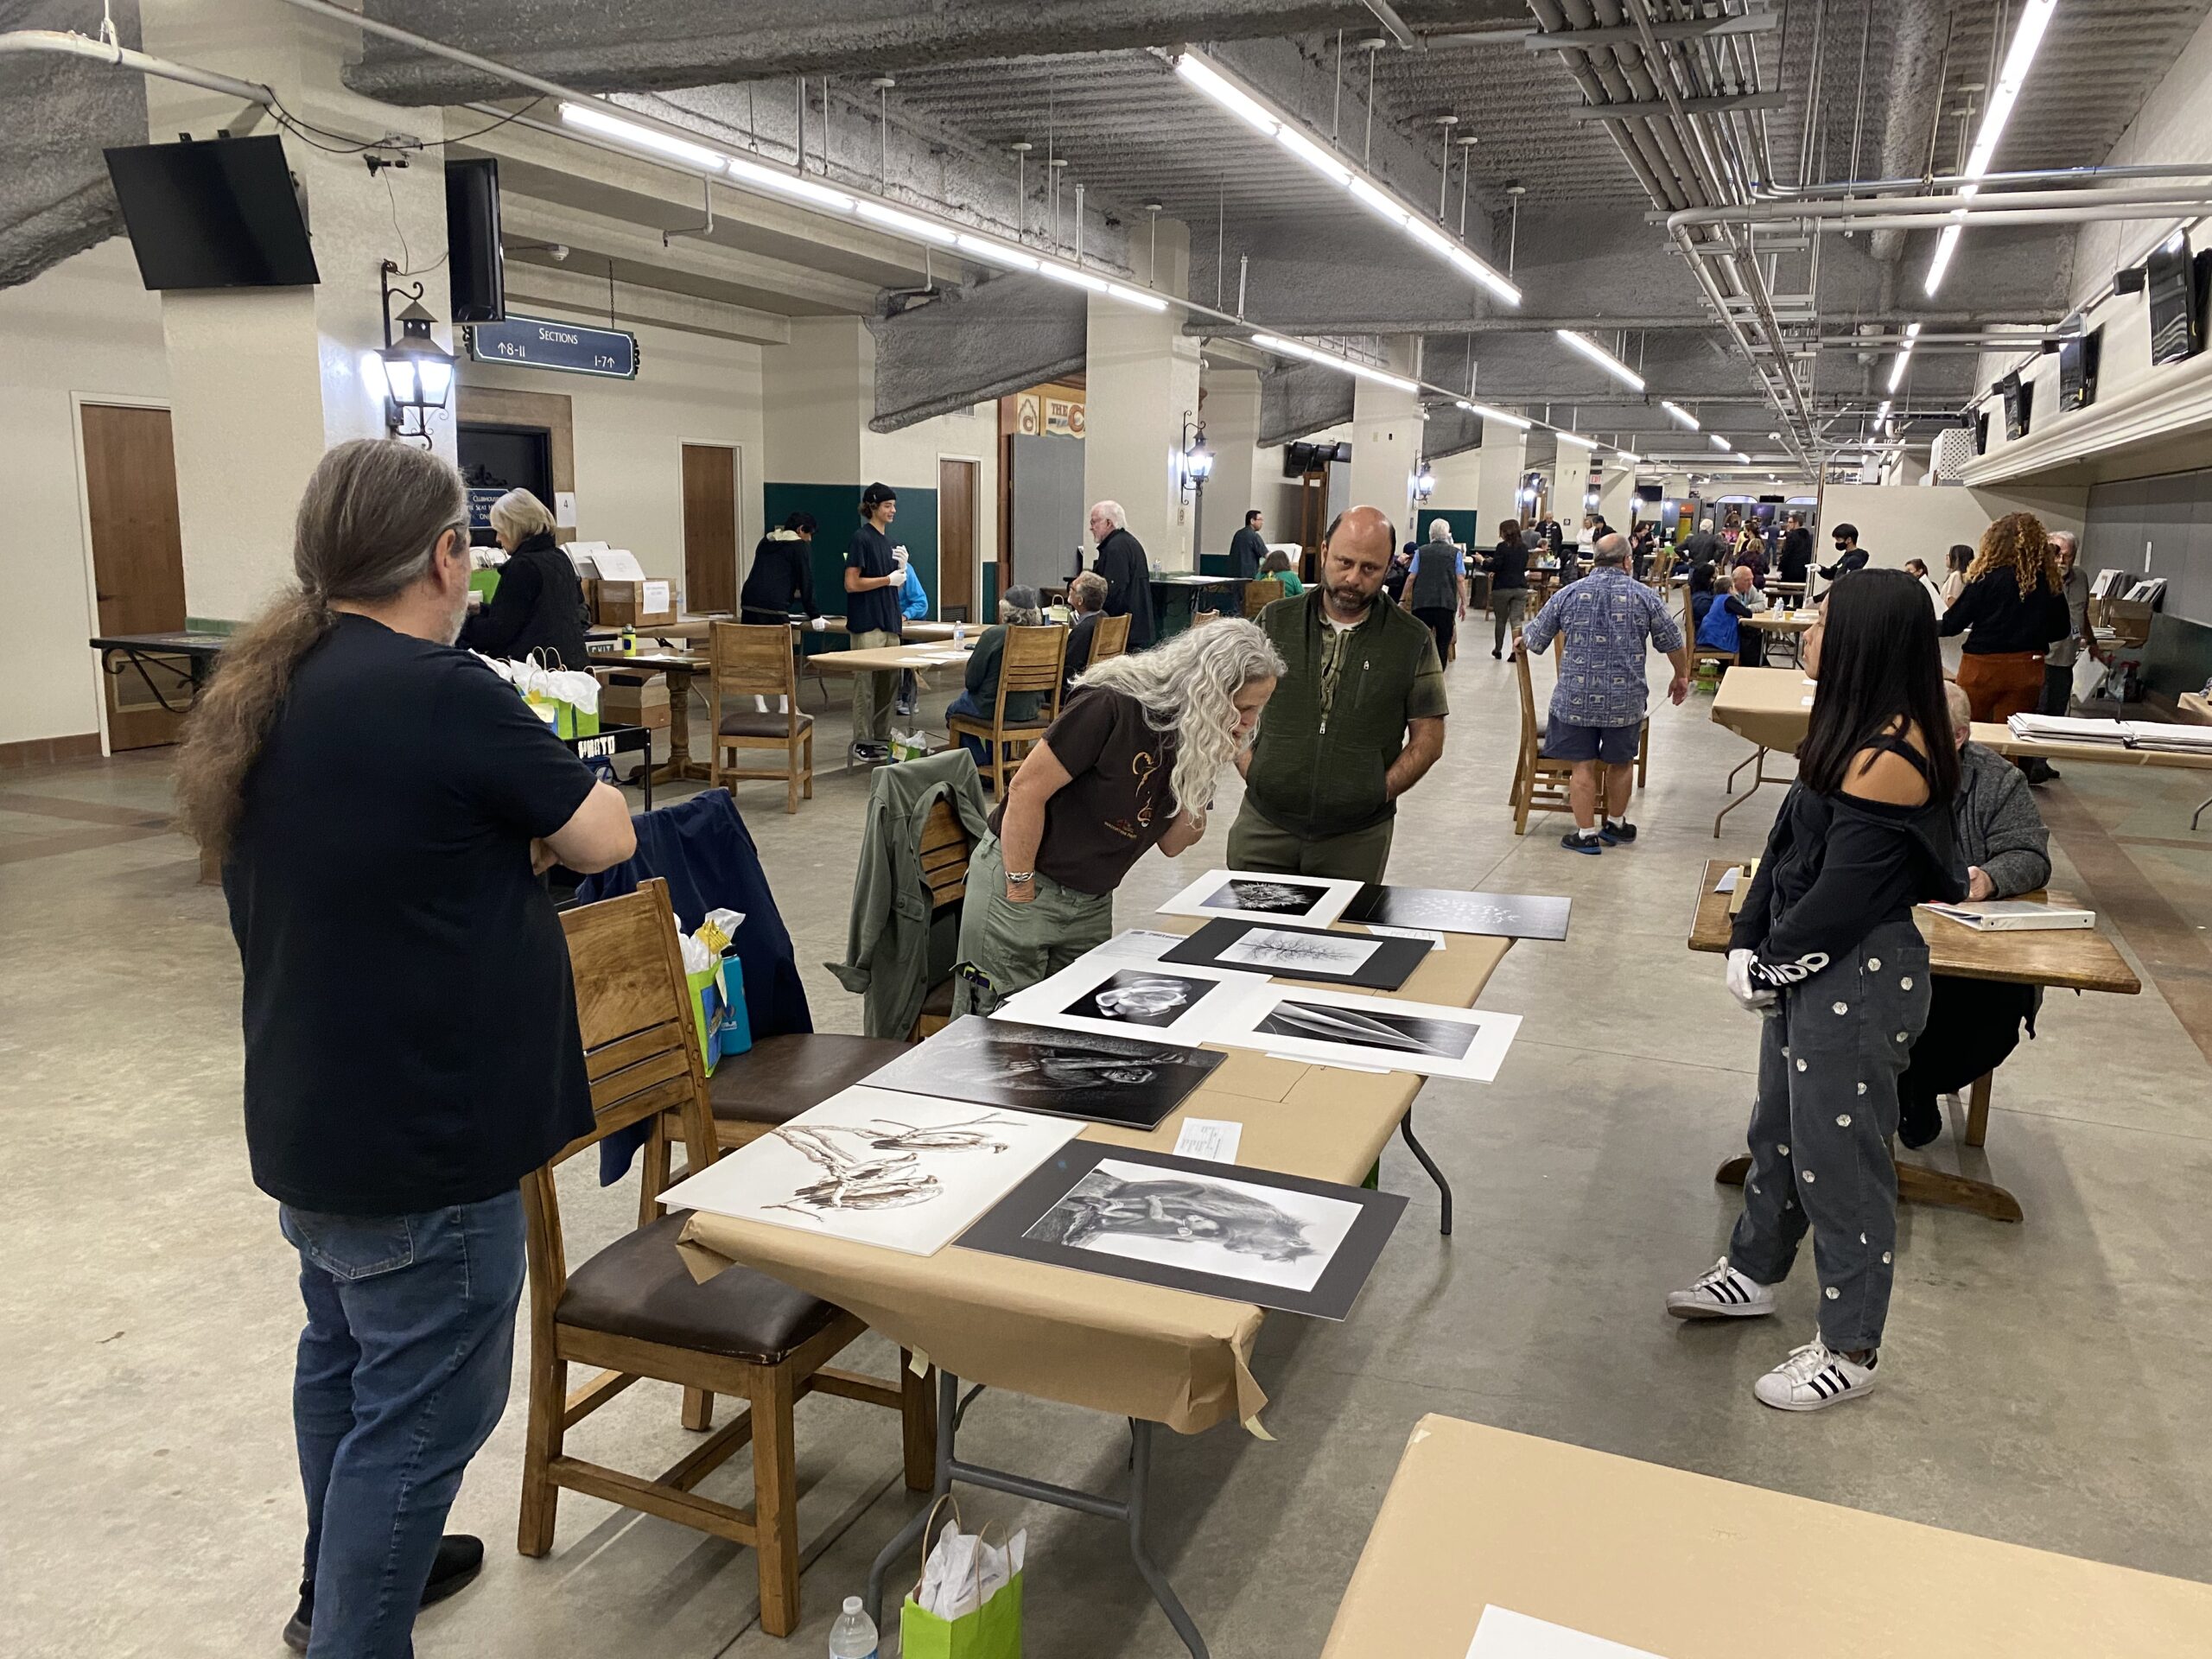
Note: Updated 04-10-25, and still relevant today! 2022 SD Fair Photo Tier 2 Judging in 5 seconds … NOTE 1: This could be one of the longer blogposts that I’ve written, but I believe you’ll find the insights well worth spending time with, regardless of the Calendar Year. To assist you, I’ve divided this post into 6 sections – feel free to click through and/or study as necessary: • Introduction • Let me Start with this Premise • Familiar Images • Post-processing Issues & Specifics • Mounting Issues & Specifics • Judging & the Photo Contests’ Tier 2
Here’s a terrific overview showing you how to build a Master File in Photoshop, using my proven Workflow Chart (also included in the notes), which is designed specifically for photographers. This video is a rapid-fire, concise & focused look on how to get the absolute most out of your digital capture – it’s also shows pertinent QR Code links, which will allow you to easily branch out into more specific areas of study. Here’s a link to the referenced notes: https://main.wattsdigital.com/images/WattsDigital_22-SD-Fair-Seminar.pdf – more useful links at the front of the notes. BONUS: For more
Updated 08/22/22 (Original Post Still Below) Well, Shazam – or as Emily Litella used to say: “Never Mind”! I guess Adobe FINALLY received enough complaints to make it simple for ANYONE to eliminate that ugly blue “Share” button – hallelujah! This works starting with v 23.5.0. Behold – – the new “Neutral Color Mode”: 1) Go to Photoshop Preferences: “Edit” – >“Preferences…” on a PC, “Photoshop” -> “Preferences…” on a Mac 2) Go to the “Interface” Tab 3) Click on “Neutral Color Mode” – easy peasy – thx, Adobe!! More here: https://helpx.adobe.com/photoshop/using/preferences.html#neutral-color-mode _________________________ Original Post (this still works
One of the critical factors in using Photoshop properly is to Standardize your Workflow: Contrast should be adjusted before Color Correction, Cropping should be done before Sharpening, and so on. With that in mind, you’ll find a handy downloadable Photoshop Workflow Chart below, designed specifically for Photographers. • By the way, the picture above is a visual representation of a proper workflow for photographers – the downloadable version below is a detailed “step-by-step” checklist. ___________ Notice that the downloadable Workflow Chart is divided into 4 sections which further clarify a proper workflow (see vertical boxes on
07/13/22 – BONUS VIDEO from my YouTube Channel: ______________________ What is it, and why do you need it? One of the critical elements in successfully bringing an image from camera to its printed form is Color Management. • Proper Color Management will allow you to print with a great degree of consistency and repeatability, whether it’s on your home inkjet photo printer or through a custom print lab. • It allows you to print what you see on your monitor with a large degree of accuracy. The old adage, “WYSIWYG” (What You
Updated 08/05/23- with Short (under 3 minutes)YouTube Video: The method / procedure described below is inspired by the great Ansel Adams’ Zone System – – consider this the post-processing “digital equivalent” for Photoshop (see more here, near the bottom) … Also, this blogpost is material straight from my personalized online Small Group Workshop, “The Power of Adjustment Layers in Photoshop”: https://wattsdigital.com/small-group-workshops ___________________ By dividing your image into separate & non-overlapping “Zones” of contrast, color, density (brightness), sharpness, etc., you’ll have complete creative control, performance & flexibility over how your overall image looks. • These “Zones” are created
Updated 02/01/25 Redundancy, Redundancy, Redundancy … I was 13 years old when man triumphantly walked on the moon. One of the greater attributes of NASA and the space program at the time was the concept of redundancy. It was one of the reasons that Apollo 13, despite all of its incredible challenges, made it back safely. There was a backup for every system, and even the backups were frequently backed up. In the harsh and unforgiving environment of outer space, nothing was left to chance. You should be treating your digital files the same way. This lack of redundancy in properly
• Are you brand new to Photoshop? A total beginner? Or, are you just digging into the program, and not sure what to do next? Or, are you having challenges with the “basics”? • Do you need guidance – a “Lesson Plan”, if you will – on how to learn Photoshop for Photographers? Do you need a “Photoshop Coach”? If so, read on … • Photoshop is indeed a complex program – but as a photographer, you’re only going to need to use 10-15% of the programs’ functionality to achieve your best results, and
Updated – 10/15/21 – with Video: The Crop Tool allows you to crop to a portion of an image to enhance the subject matter, remove an unwanted object, and/or improve your composition. Cropping your image in Photoshop is one of those rare functions that has both creative AND procedural aspects to it. This blogpost is about the procedural – the “How-to”. Once you fully understand the “How-to”, the creative aspect is yours to discover & explore as a photographer. Where to Find: The Crop Tool can be found in the Tools Panel, or by